
Circumstances dictated that I could not work on my cluster for a few weeks, but this last week, I made some progress. While I am waiting for all the bits and pieces I ordered to arrive, I wanted to play with the server hardware that had arrived a while ago. I need to test everything so I can send out for replacements and check that all the pieces actually work together as I expect them too.
Assembling the motherboard pods
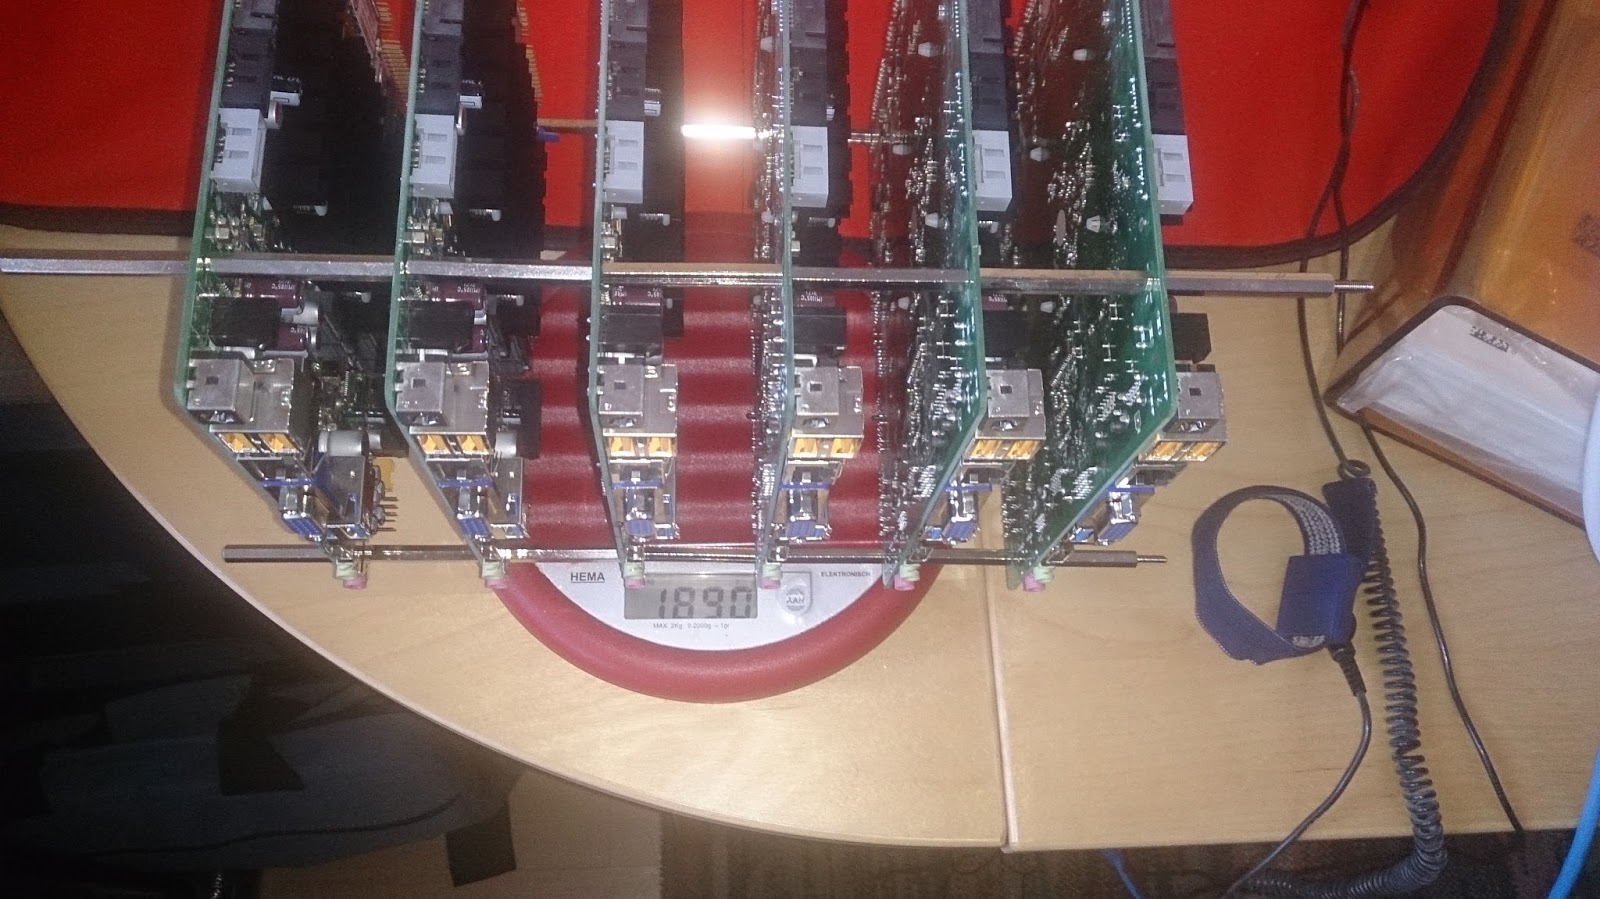
My design expects the motherboards to be attached to each other using metal stand-off’s. There is a fear that this assembly will not be rigid enough though. I am also slightly worried about the weight of it causing too much “sag” in the middle…
Screwing six motherboards together in a stack is quite straightforward. It does however make very clear how annoying it will be if I ever need to replace a motherboard. In this configuration, there is no way to easily remove a board from a stack.
However, any more maintenance friendly setup would mean that the housing needs to be bigger. For me, this trumps the ease of maintenance aspect because these days, unless you are overclocking heavily, hardware quality is just very good. And if Google can decide to simply throw away a rack after a certain percentage of the servers has broken down instead of repairing them, surely I can too? (Just kidding, of course.)
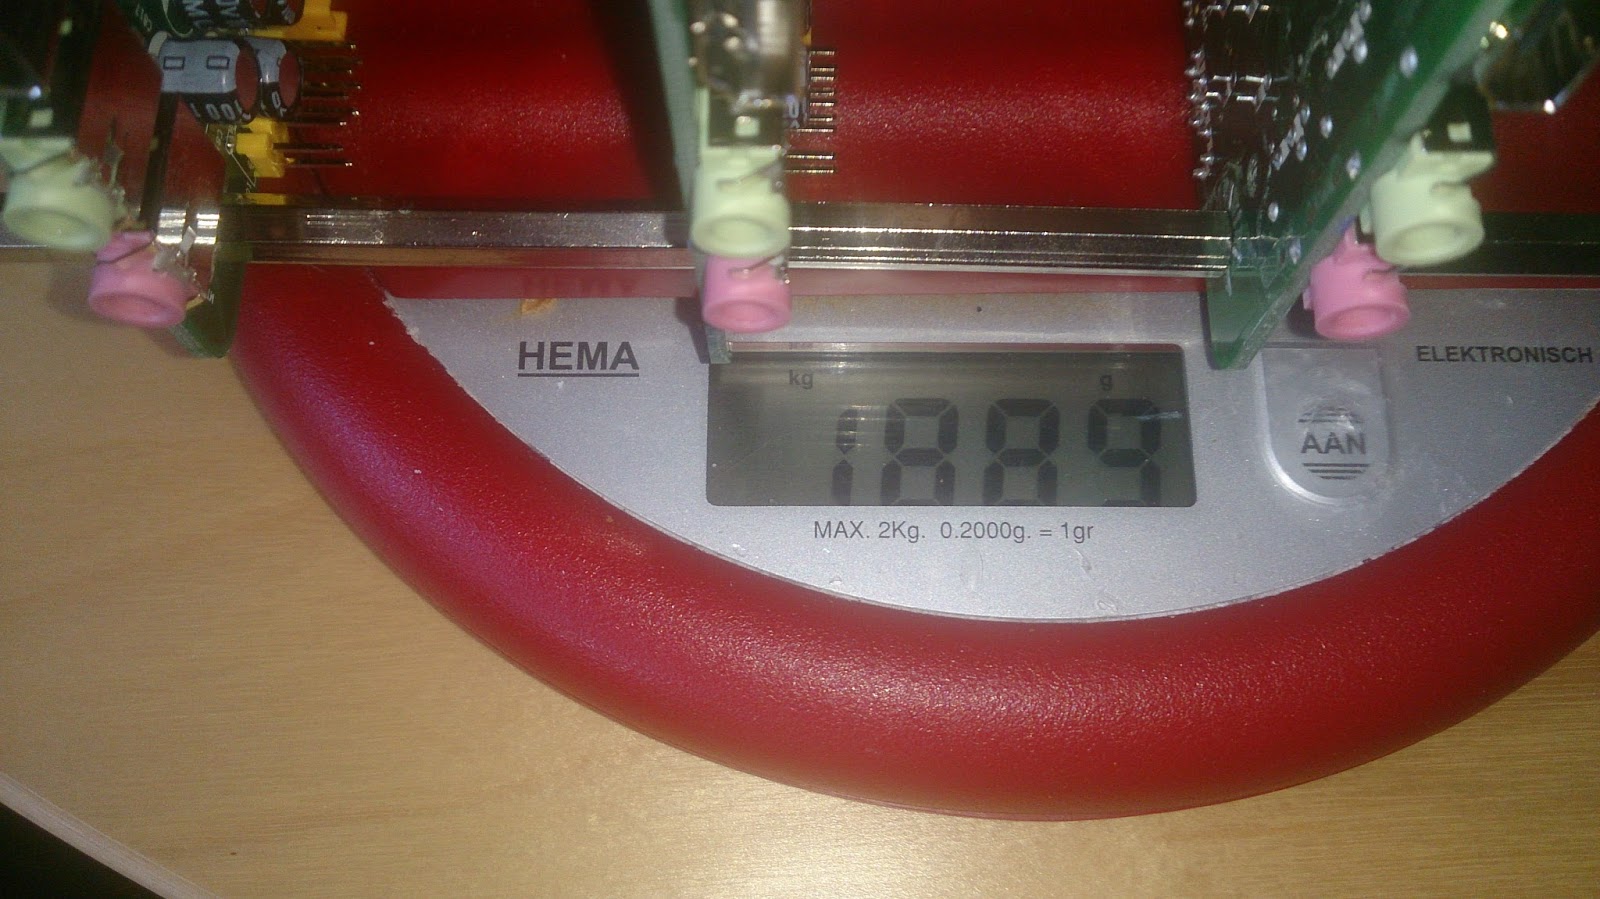
On a digital kitchen scale a six board assembly weighs 1889 grams. Less than two kg is not bad of course, but I still need to add the disks, network switch and a lot of cables… I am really curious to find out what the end result will weigh, so I put the a disk and a switch on the scale as well.
 |
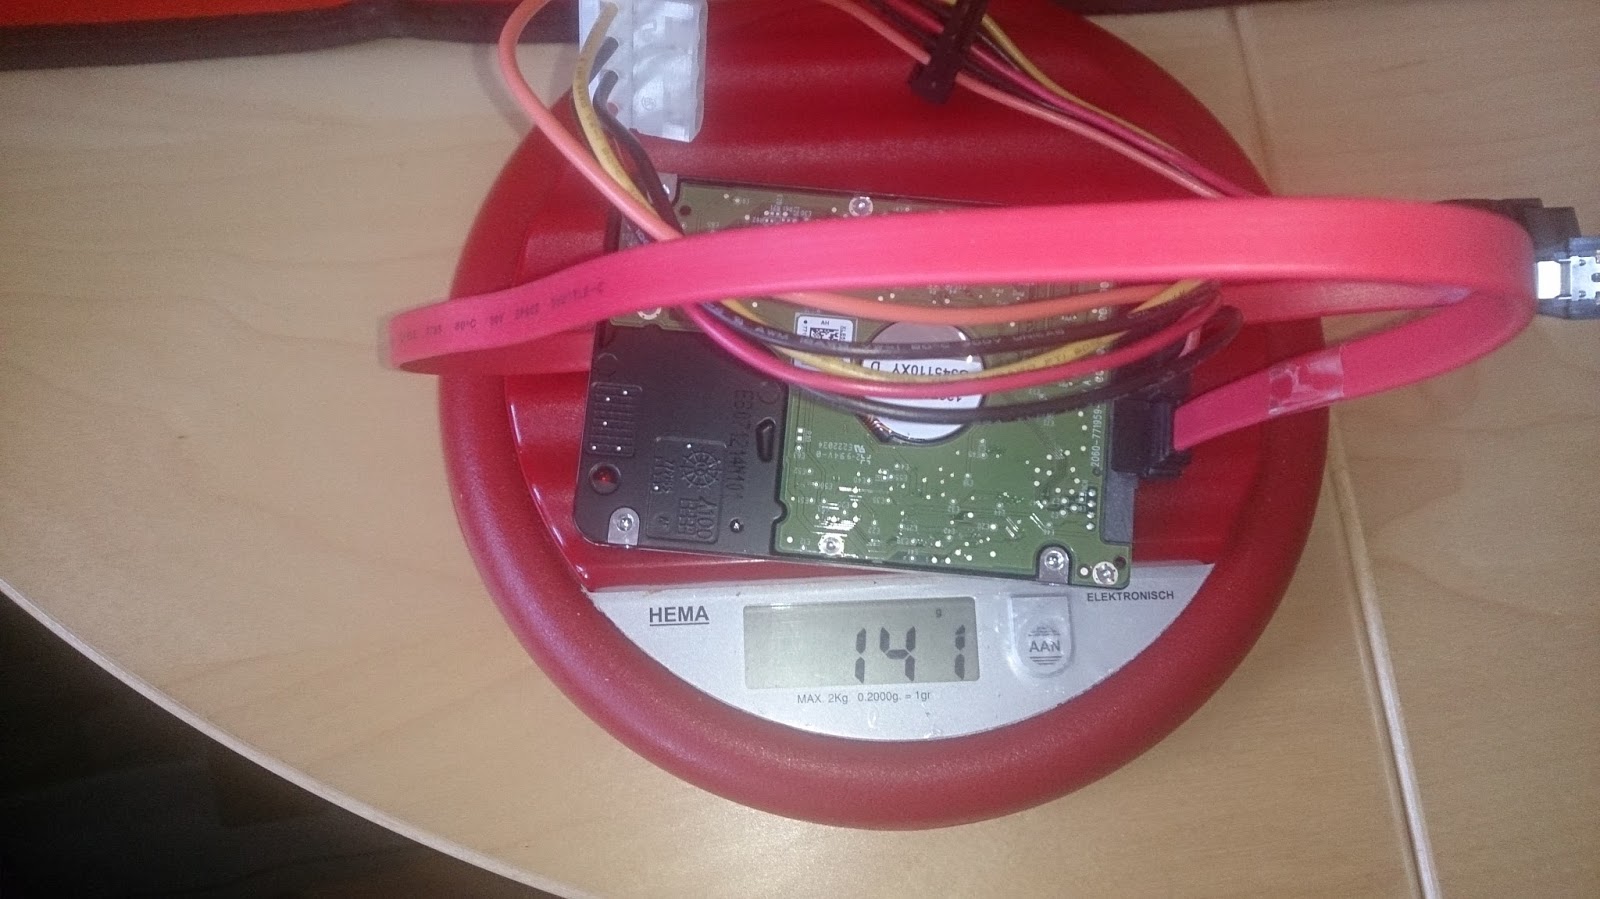 |
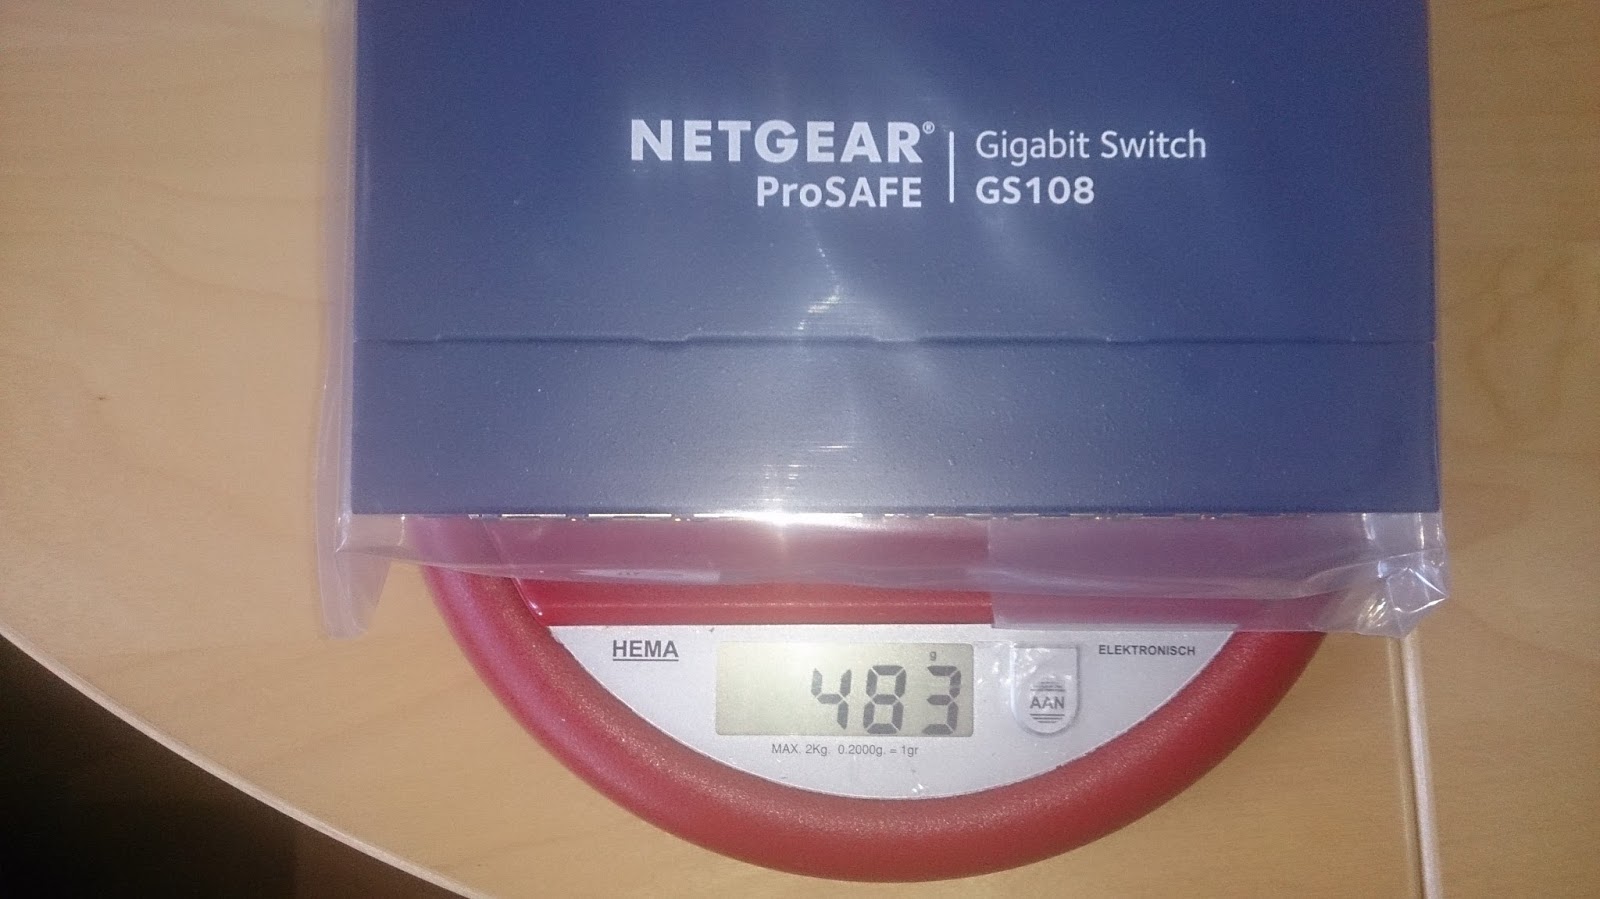
With six motherboards at 1889, hard disks at 141×6=846 and the switch at 483, the weight for the hardware in a pod comes to 3218 grams or 3.2 kg. Not extreme at all: I expect my desktop pc weighs over 10 kg. Still, I am curious on how my housing design will cope with the weight since most of the width strength is supplied only by the bolted together motherboards…
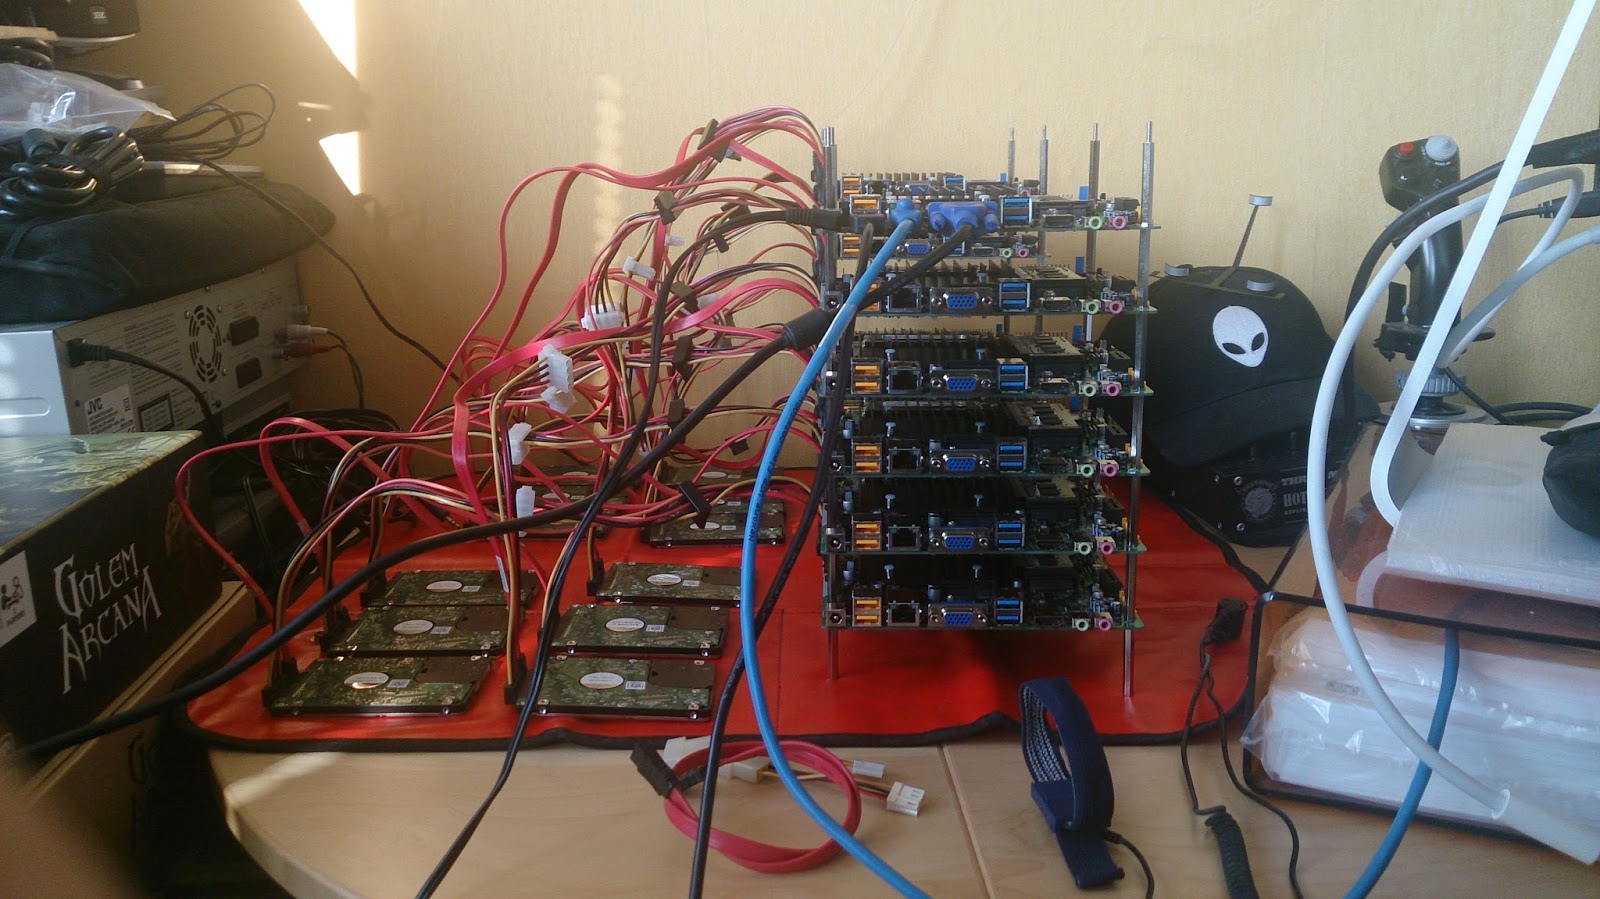
Cable spaghetti with hard disks and switches
 |
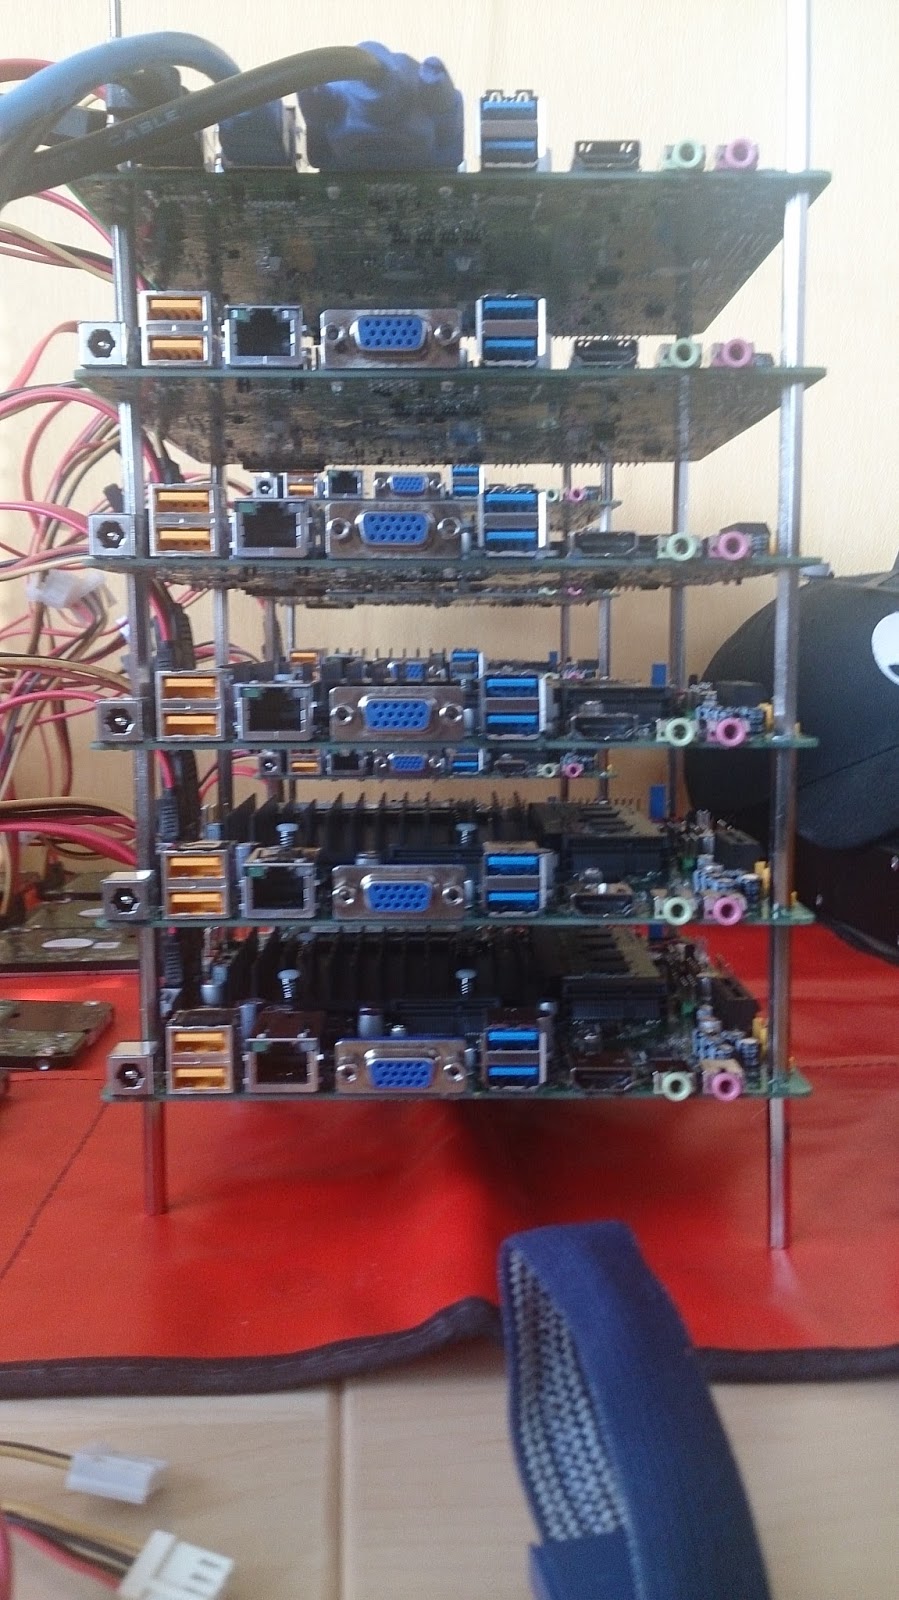
| This is what a mini cluster looks like, without any clothes on |
Setting up the two motherboard assemblies and attaching all the hard disks and both switches results in an impressive mess of cables. In my housing design, I felt I left ample space for cable management. Looking at this makes me not so sure at all…
 |
 |
 |
Power to the servers
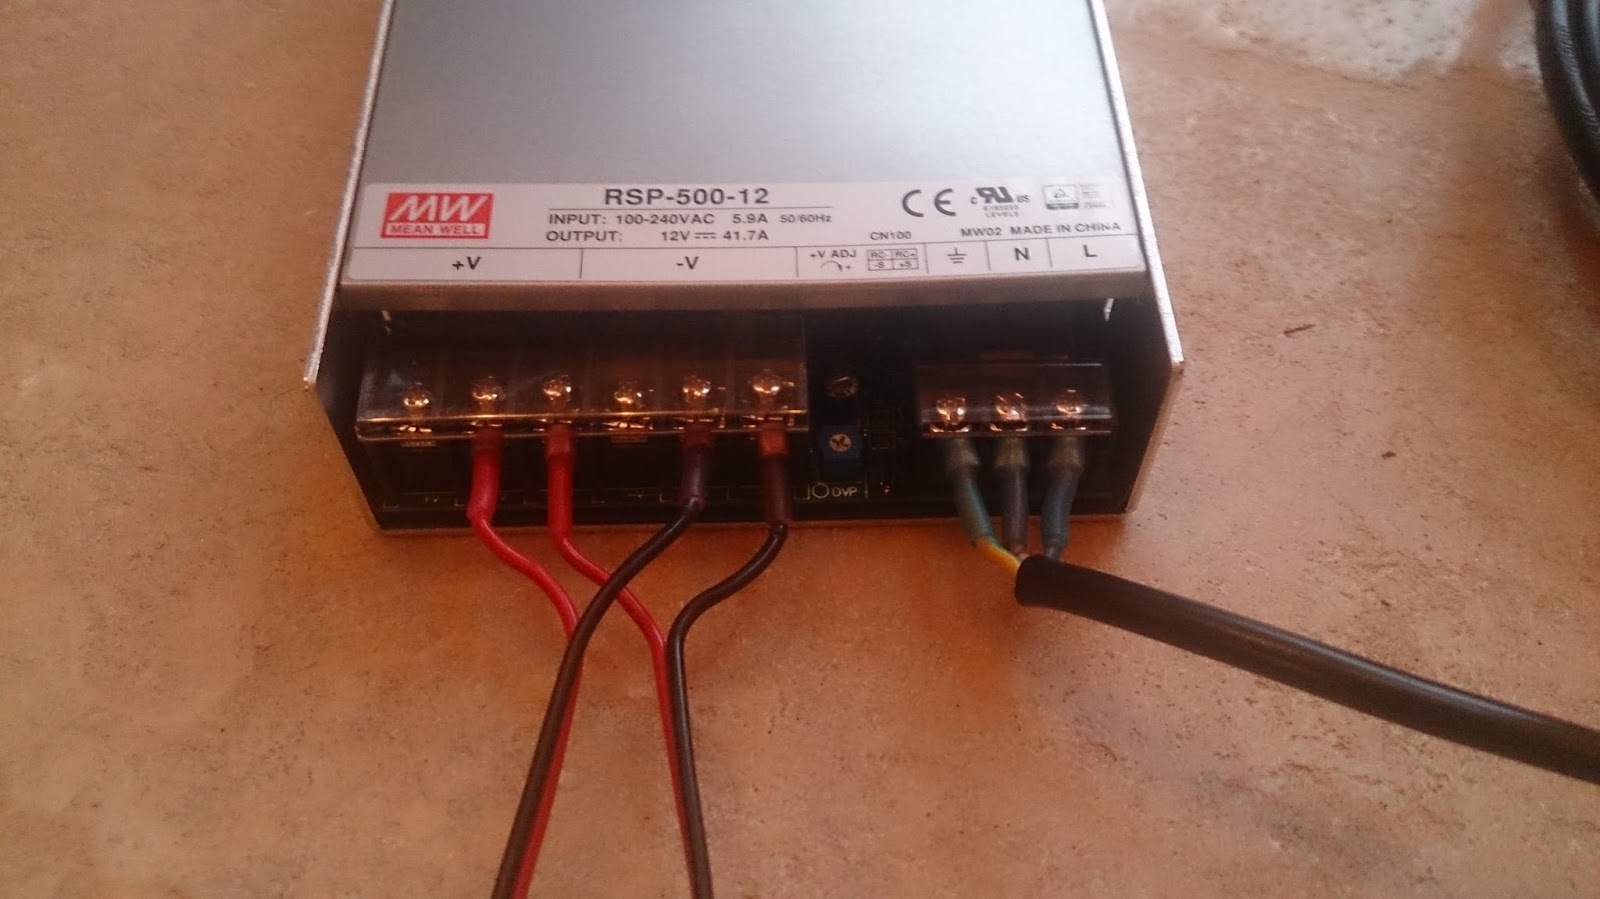
The final piece to this puzzle is of course the power. In the pictures above, I used a 12V power supply from one of the switches to test a board, but I did receive the Mean Well power supply I ordered and I have sufficient cable and connectors to put together a wire harness.
From the power supply, a separate wire assembly for each server assembly forks out. Each side has an additional connector for the switch.
 |
|
|
|
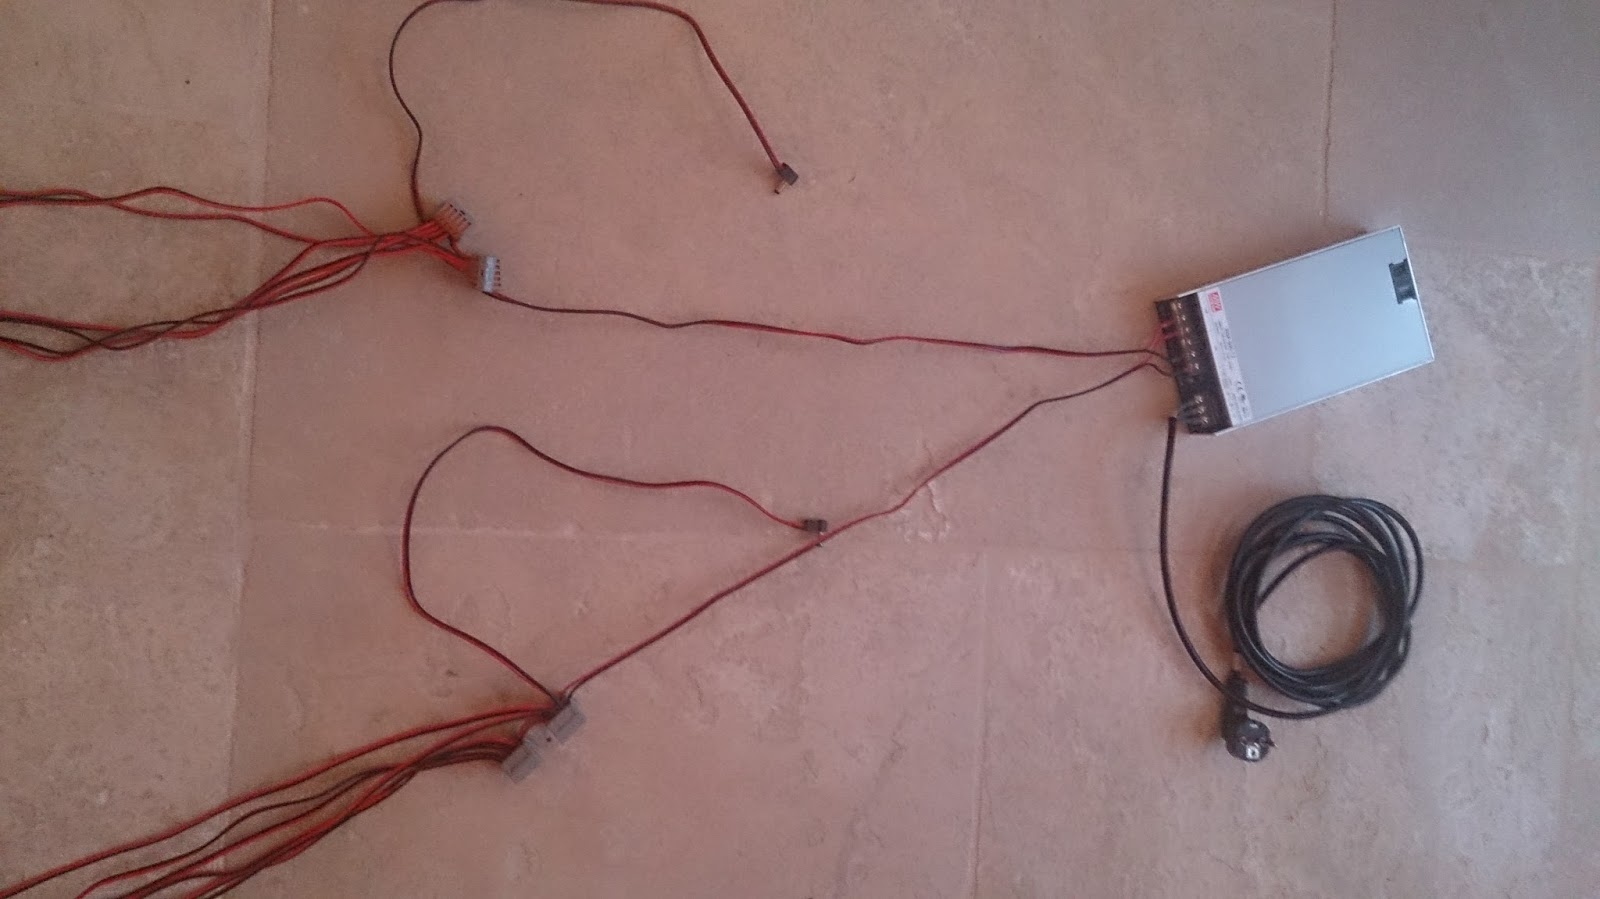
Since I do not want to cut any cables until the final assembly, the wire harness does turn out a bit…. large….
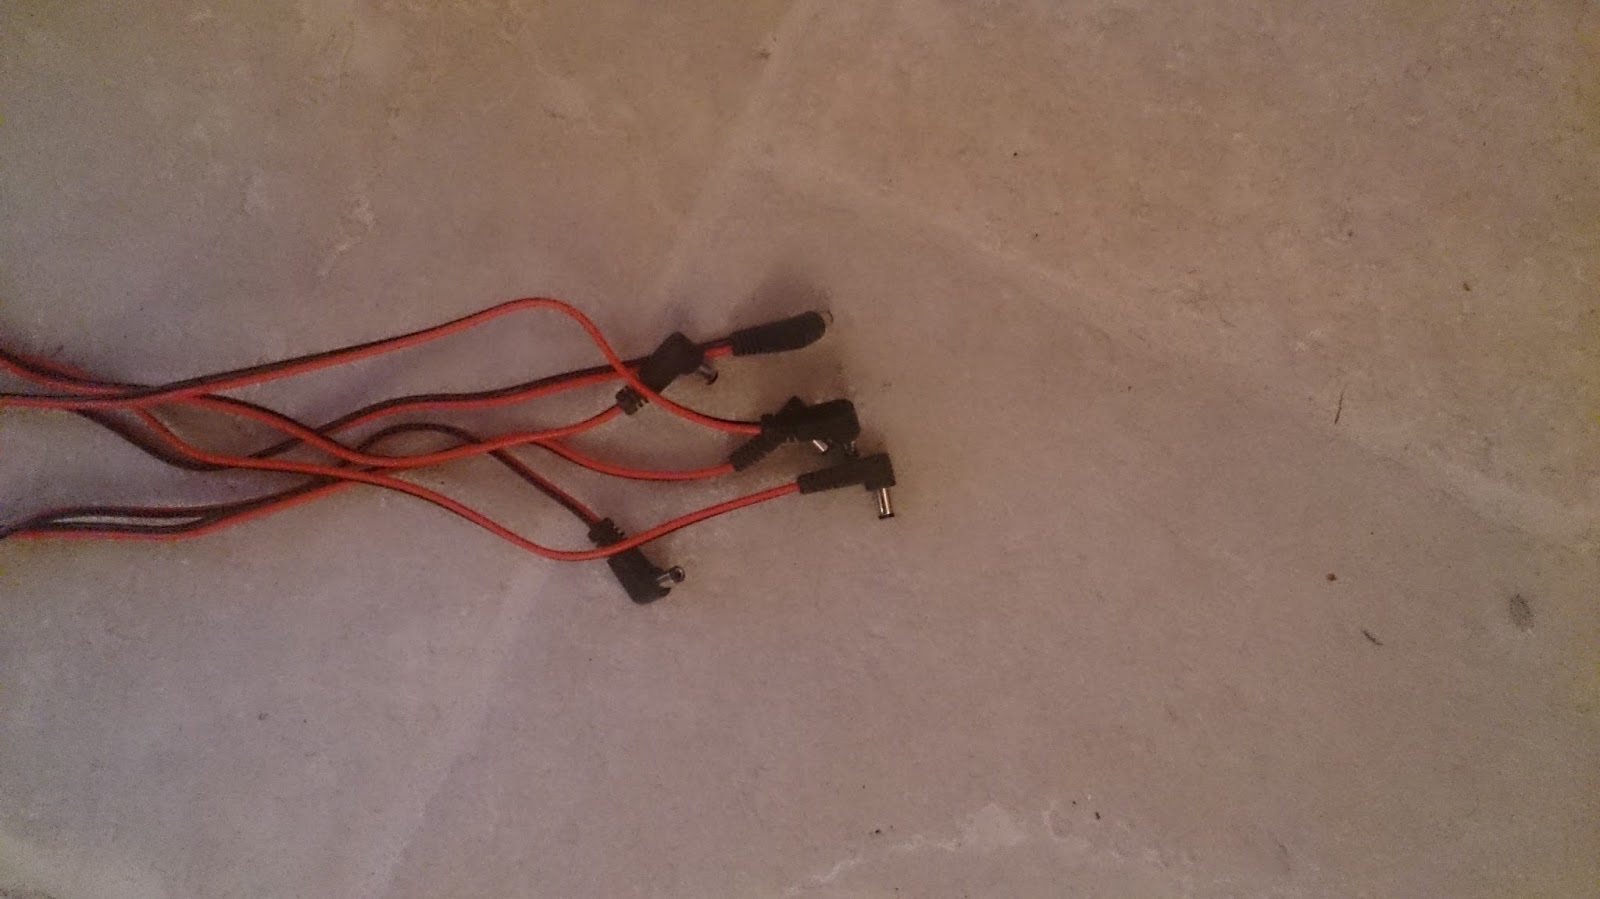
The power cables going to the motherboards came with connectors attached, but for the switches I needed to solder them on myself. This was my first attempt at soldering and even though it wasn’t a complete success (one of the connectors has broken loose when I clumsily stepped on it) everything seems to be holding together pretty well if I can believe the beeps from the fluke multimeter.
 |
| All connections to the power supply nicely sleeved |
I want to be super careful with electricity, so all the connections on the power supply end have cable terminals glue-shrunk on them. First time I used a heat gun to do something like this but it works like a charm.
The final picture
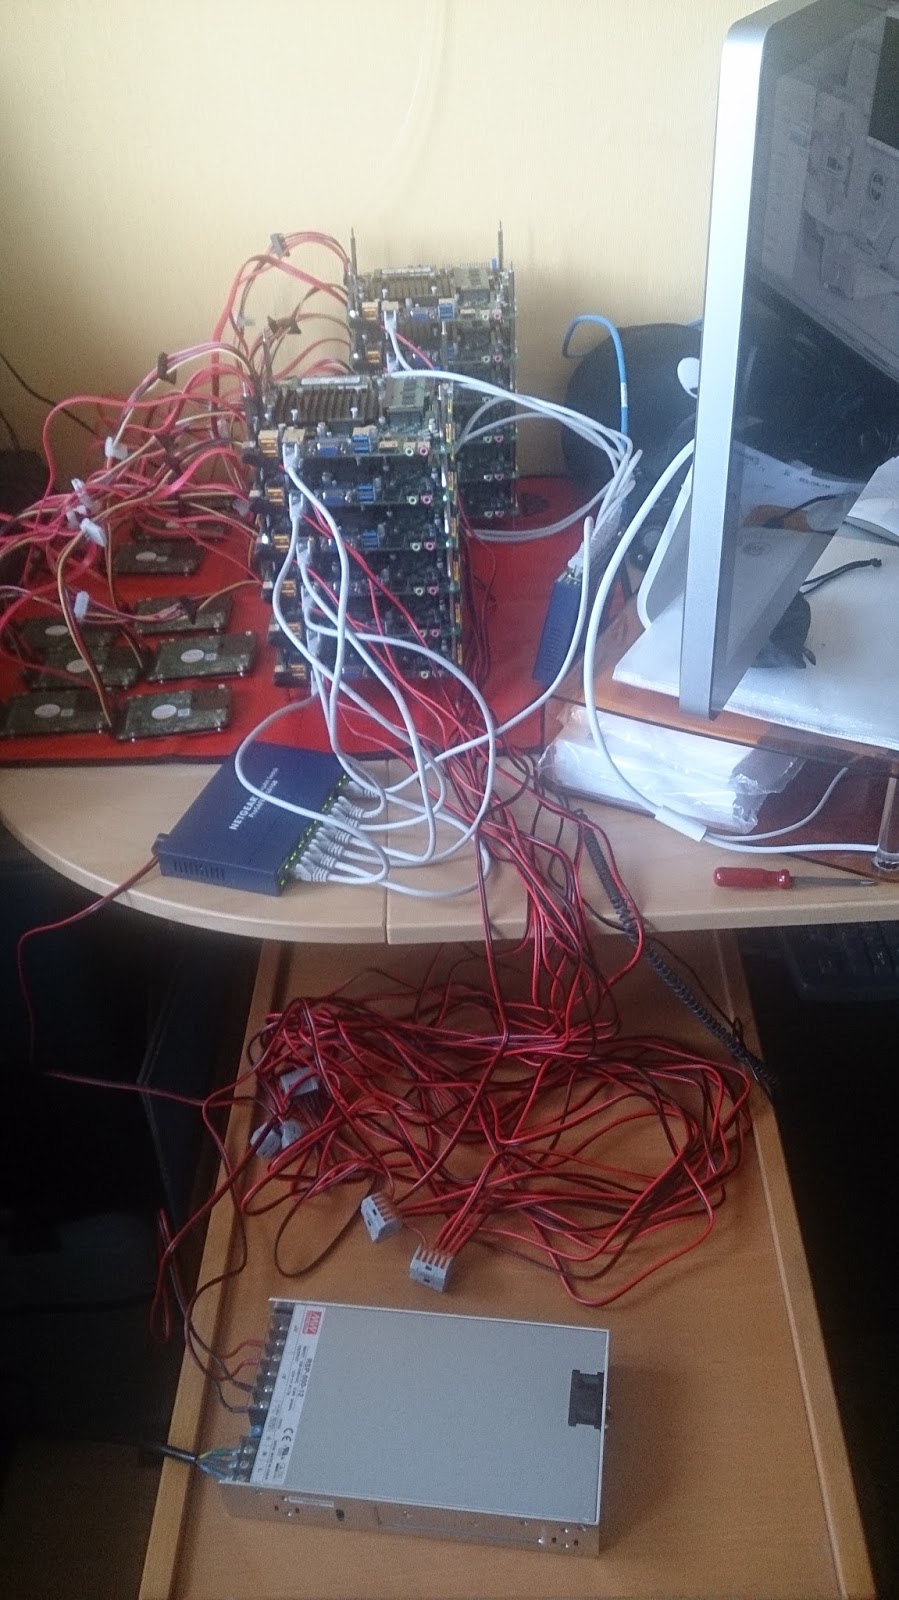
And this is what the end result looks like with everything cabled up.
For those that are curious; the red and black wires I am using are ordinary speaker wire I had. They are not the very cheap kind though but have nice isolation and a reasonably thick core. I have no idea what “gauge” they are. They are quite similar to the cables I bought for the motherboard connections, so I am carefully confident that they will be able to carry the amps.
The moment of truth has arrived: time to warn my relatives that a fuse might blow and then plug the power in….
Success!
I did do a careful first test with only a switch attached, next added a motherboard and then added everything.
But as you can see in the image, the switch leds are all on, indicating all the boards are live. A very reassuring rattle of disk drives tells me that those are alive too.
Passing the vga cable to each server in turn proves that all hardware is working. Not a single DOA! I told you hardware quality is pretty darn good these days!
Now that all the hardware is up and running, I can start loading an operating system on the boards, but since this is a cluster, I want to do it “smartly”. This will be the subject for the next post.
Since I did not buy anything since the last post, I’m skipping the costs table.