

Now that the cluster is powered, I can start setting up the software environment I want to use. Since my plans for the cluster is to try out new things whenever something interesting comes along, I want to be able to remotely start, stop and reinstall the cluster nodes as easily as possible.
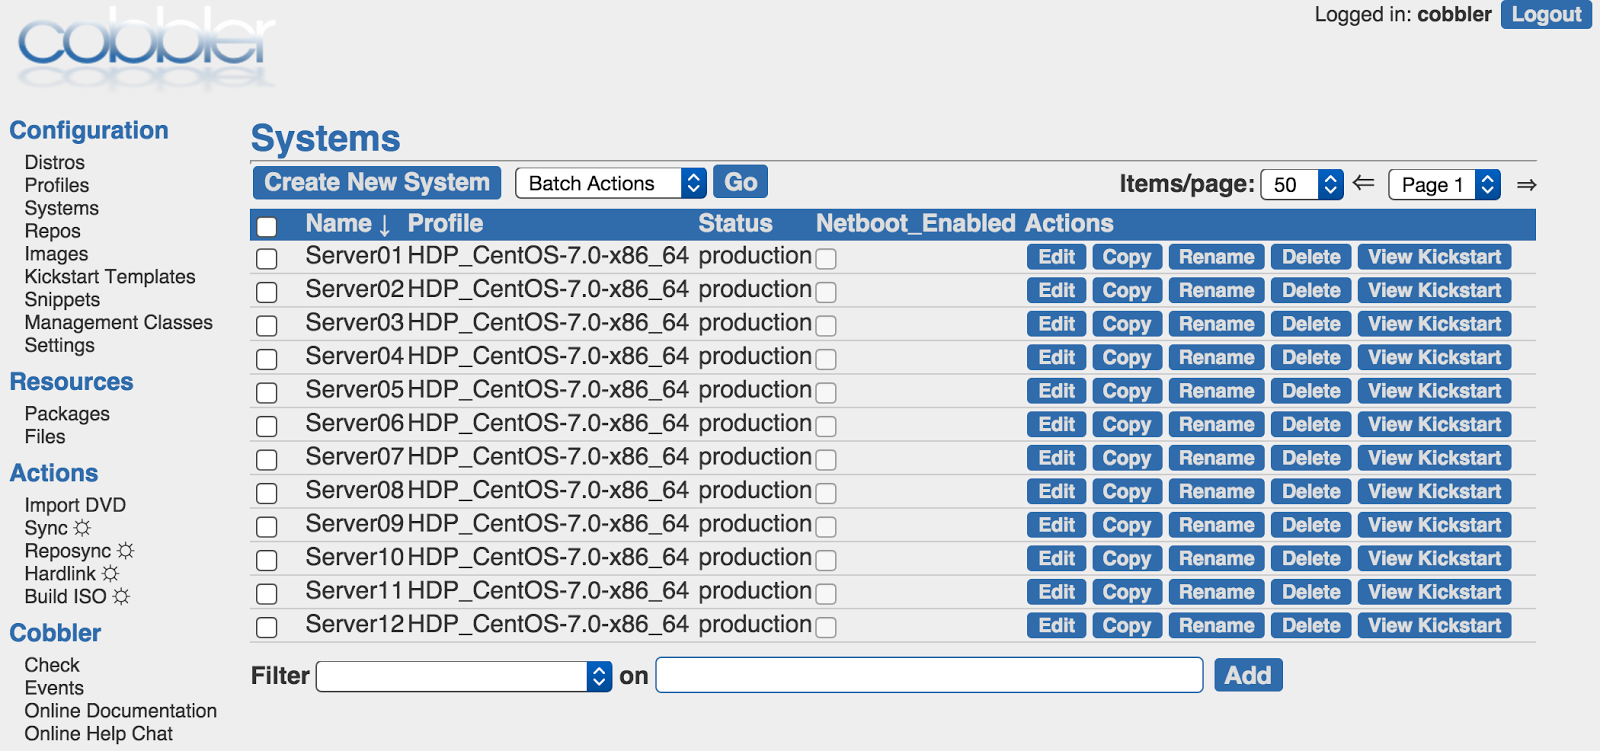
Cobbler – Linux install and update server
Update April-2018: The cobbler project has gradually been losing quality. With sadness I have now replaced cobbler with The Forman.
I have been working with cobbler for a few years now and even though it is not as feature complete as one might want, it does offer a very low barrier of entry. It pretty much provides for everything I require:
- Remote power management with wake-on-lan
- Easy PXE boot environment
- System profile support allows for easy re-assigning of a cluster node
It can also maintain DNS and DHCP, but I already have those so I will not be using those functions in cobbler. My DHCP setup uses static IP address allocation where a certain MAC address will allways be assigned the same IP address. This allows my DNS to be static as well.
With this setup, there is no need for cobbler to have any knowledge or influence on the DHCP server. All I need to do is set up the “next-server” directive on my DHCP server to point to the cobbler instance and everything works.
Since cobbler is not at all resource intensive when it only manages a dozen nodes, I can easily install this on a virtual machine. More exactly, a virtualbox jail on my FreeNas server.
PXE Boot? Motherboard says NO!
Any cluster needs to have functionality to install using PXE. Now that the nodes have power, and the cobbler PXE environment is set up correctly, time to configure the compute nodes.
As usual, this means going into the bios and setting the boot order to first boot from the network interface, before trying other media. This will cause the node to first ask for an IP address from the DHCP server. That IP offer should then contain a “next-server” option to tell the node where to connect using TFTP to download a bootloader, after which that bootloader will decide what happens next. Usually, this will be an automated hands-off (so called kickstart) install of an operating system with whatever applications are required.
Now I know that my DHCP server is set up correctly and I know that my cobbler PXE setup is good since I have done this a million times (ok, slight exaggeration there) but my Mitac boards stubbornly refuse to boot over PXE.
After going through many bios setting permutations, I conclude that the motherboards will only attempt a PXE boot in UEFI mode. In legacy mode (standard PXE) the network card is not even tried. All I get is a “reboot and insert boot device” error. When I switch the boot mode from Legacy to UEFI, a UEFI network boot option appears in the bios screen and after a reset, an IPv4 PXE boot over UEFI is actually attempted.
However, my PXE setup is not fit for UEFI. To be honest, in my personal opinion, even though UEFI is more than 20 years old now, it is still an awful, unusable mess. Only in the last year or so have I seen servers that were actually able to be usable in UEFI mode.
As expected, setting up a UEFI capable PXE boot server turned out to be an awfully messy affair. Even though I was able to make it work somewhat, it needed so many manual tweaks to the cobbler setup that I did not want to live with it. Especially since legacy PXE boot is quite easy and elegant these days.
So I decided to send an email to a Mitac support address I found somewhere on their web site. Truth be told, going on past experience with well-known vendor (looking at you MSI/Gigabyte), I totally expected to be fobbed off with a useless “please reinstal windows” answer. I was making arrangements to send everything back and get a refund…
However, I must say: Mitac support was absolutely brilliant! I got a reply within the hour and once an engineer with appropriate knowledge was in the loop, things went swimmingly with my emails receiving very useful replies on average within 15 minutes!
Michael, Simon and Julian @ Mitac: YOU GUY’S ROCK!
All in all it took a few days but the end result was that these Rev .1 boards were shipped with very old BIOS and I needed to flash both the BIOS and the network card firmware with newer versions to make everything work. Michael provided me with the firmware and flash tools and after a couple of hours flashing all twelve nodes, PXE boot worked completely reliably.
Along the way I also discovered that the HDMI on the boards actually works with my HDMI monitor, even though the product description warned about that not being the case. Simon let me know that the HDMI actually does indeed sometimes work, but not with all monitors. I appear to be lucky since flashing the boards needed booting from a USB drive and that only worked when the old BIOS was reset to “Windows 7” defaults. Sadly, doing that breaks the VGA output and I needed to use the HDMI connector. After flashing the new BIOS, this was also no longer an issue.
Fixing the motherboards
Here is the sequence to make the boards function properly:
The one-time flashing process:
- Boot the board with HDMI connected
- Insert DOS USB Stick
- Set BIOS to use Windows 7 defaults
- Save & Exit -> Restore Windows 7 Defaults
- Save & Exit -> Save Changes and Reset (must be done)
- Flash BIOS firmware
- Boot dos stick
- Under Firmware, go to BIOS
- Type afu.bat
- Flash NIC firmware
- Boot dos stick
- Under Firmware, go to LAN folder
- Type “PG8168 /efuse”
After these steps, the boards are ready for use and my default BIOS setup can be configured:
- Save & Exit -> Restore Windows 7 Defaults
- Save & Exit -> Save Changes and Reset (must be done)
- Advanced -> Network Stack Configuration -> Ipv6 PXE Support -> Disable
- Chipset -> Output Panel Type -> Disable
- Chipset -> DeepSx Power Policies -> Disable (needed for WOL)
- Restore AC Power Loss -> Power Off
- Boot -> Boot Option #1 -> Network: Realtek …
- Save & Exit -> Save Changes and Reset
WakeUp-On-Lan? Linux says NO!
After the firmware got all that attention, Linux decided it needed some attention too! Even with the deep sleep setting disabled in BIOS, a “shutdown -p” in Linux still powers off the network card completely and that makes WOL non-functional.
There is a work around telling linux not to do that, but that needs to be done at every boot so I added the following line to the /etc/rc.local file:
ethtool -s eth0 wol g
This seems to work in both CentOS 6 and 7. And I need it to work since I still do not have the ATX power cables: the only way to boot a board I currently have is to manually short the power header on the motherboard and that get annoying quickly! If I ever remove power from the cluster though, this still kills WOL completely. I really hope those ATX power cables arrive soon!
Now WOL works, I can use it to add a fencing agent to cobbler so it can start a node using WOL and shutdown a node using a shutdown command over passwordless ssh.
Add /usr/sbin/fence_barion
#!/bin/bash
regex=”(.*)=(.*)”
while read line
do
declare $line
done
if [ “$action” == “on” ]
then
echo “going on”
wakelan $mac
elif [ “$action” == “off” ]
then
echo “going off”
ssh $ipaddr -o UserKnownHostsFile=/dev/nul -o StrictHostKeyChecking=no “shutdown -h now”
fi
echo Done
This uses the wakelan command which you can install on CentOS. Alternatives are wol and ether-wake, although that last one never seems to work for me.
Add /etc/cobbler/power/fence_barion.template
action=$power_mode
ipaddr=$power_address
login=$power_user
passwd=$power_pass
mac=$power_id
A simple “benchmark”: Windows 7 experience index
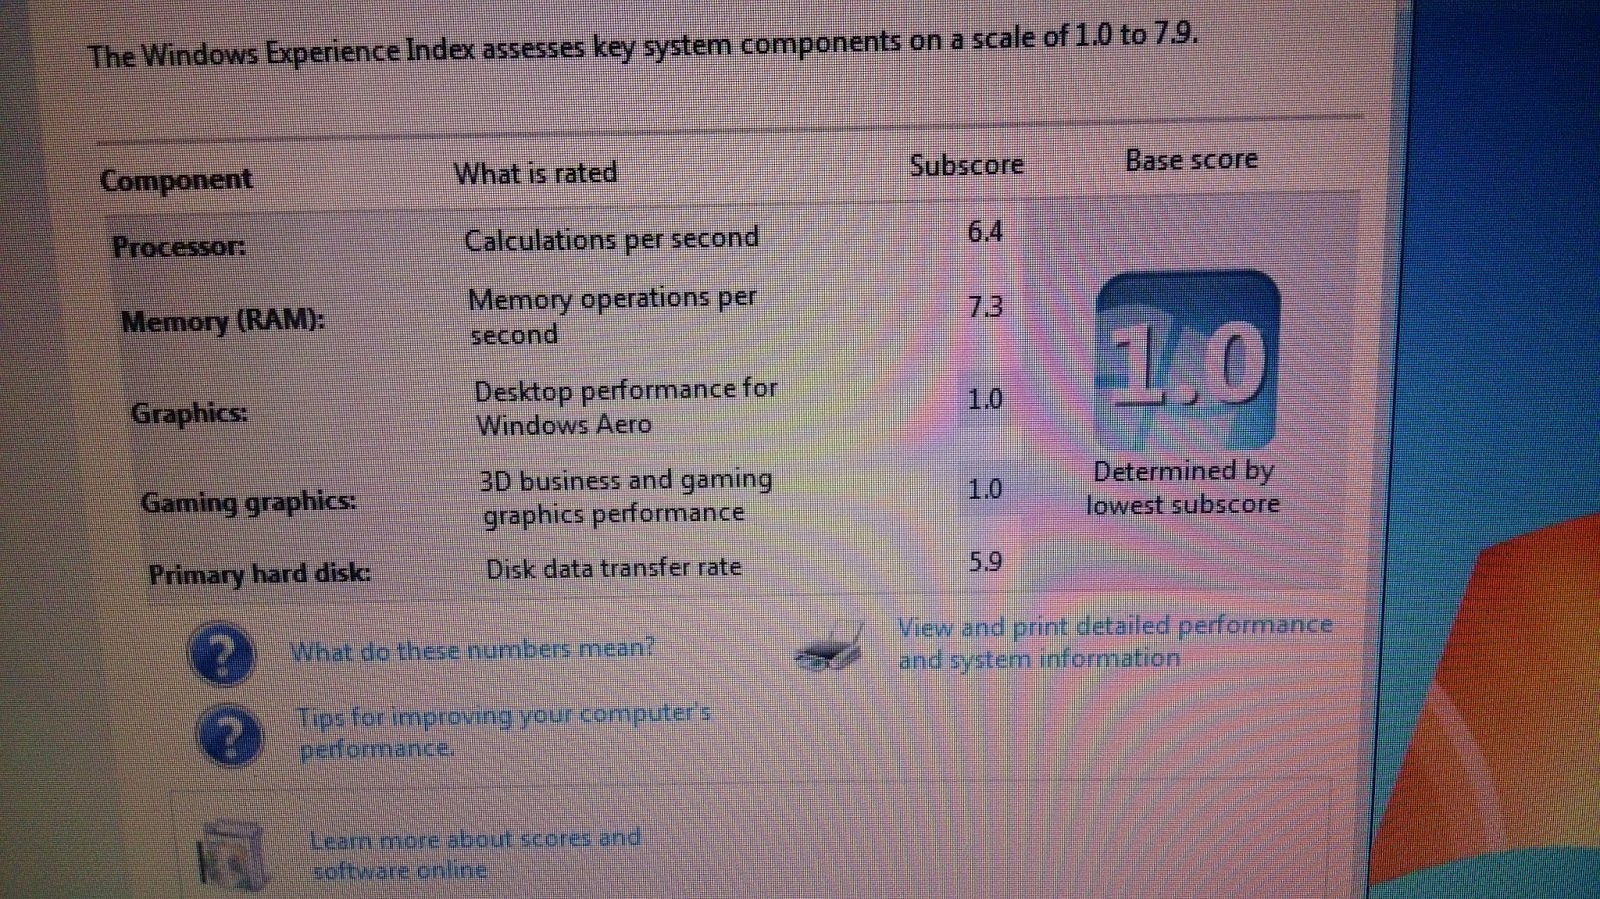 |
| Only a 1.0, but that’s due to the GFX! |
I know, I know! This is not a benchmark! But I wanted to install Windows 7, just to find out if all the hardware is working on that OS too. I do not see myself using Windows a lot on the server, but I might do some Windows 10 testing on on of the nodes before I decide to upgrade my other computers.
And since I had windows on there anyway, a quick look at the experience index was easy enough to do and it should give me some info on the general performance of these celeron boards.
As expected, the score was a very low 1.0… But looking at the details, it turns out that this is solely due to the embedded graphics on the CPU. The CPU itself has a respectable 6.4 out of a possible 7.9. The memory is even better, almost topping the scale with a 7.3. And the (slow laptop) hard disks are also not that bad with a 5.9!
All in all, I am pretty satisfied with these numbers!
After some work with the cobbler configuration, I am now able to install the nodes quite quickly and quite reliably. The next part of this cluster build will go online when the acrylic and aluminium I ordered have arrived and I can start building the housings. Until then, I should still be able to have a bit of fun withe the “naked” cluster.
Monitoring using Ganglia

Buttons and cables arrive!
I was just ready to publish this post when I received a few packages from China: the ATX power cables and the pretty push buttons have arrived!
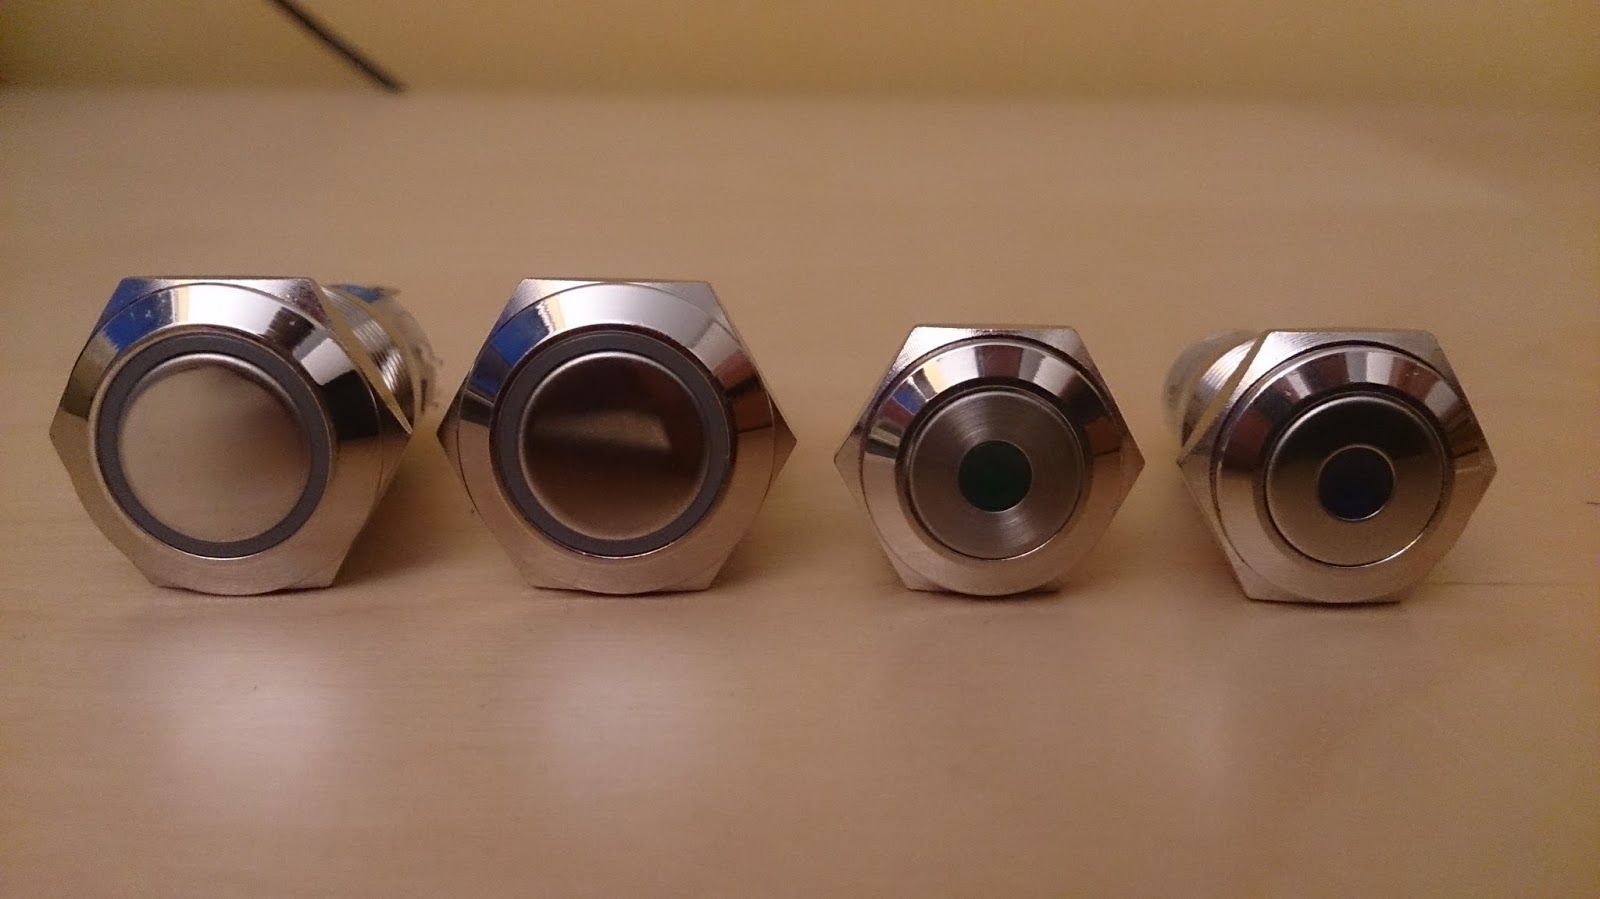 |
| The metallic buttons, without flash |
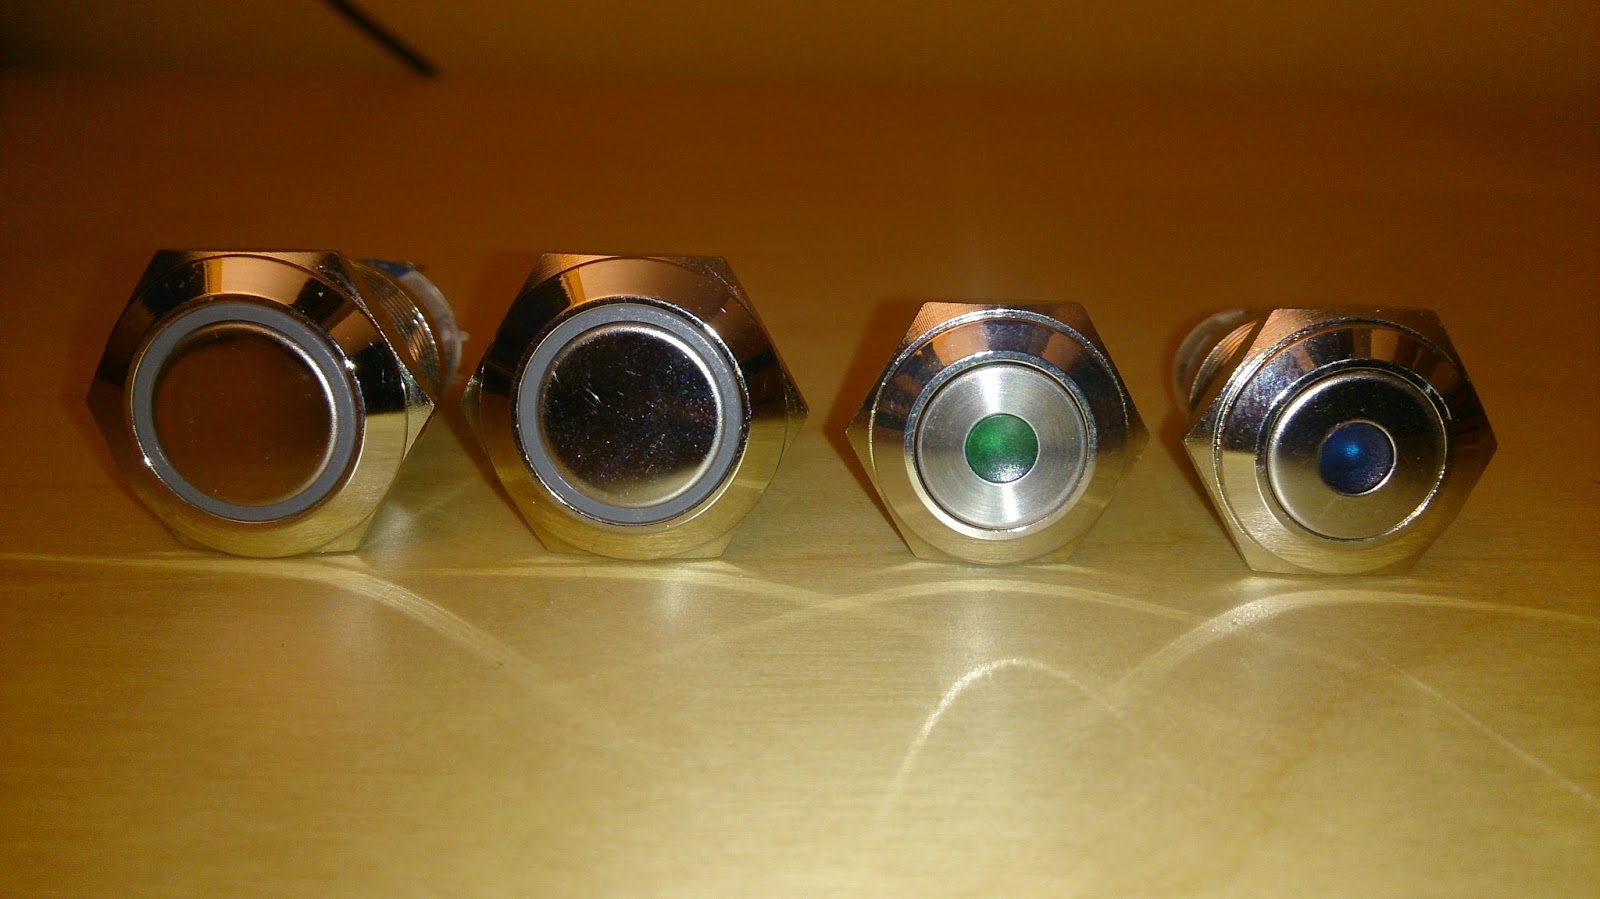 |
| With flash, the colored plastic in the smaller 16″ buttons is clearly visible. The “ring” in the larger 19″buttons is clear white though. |
|
|
||||
 |
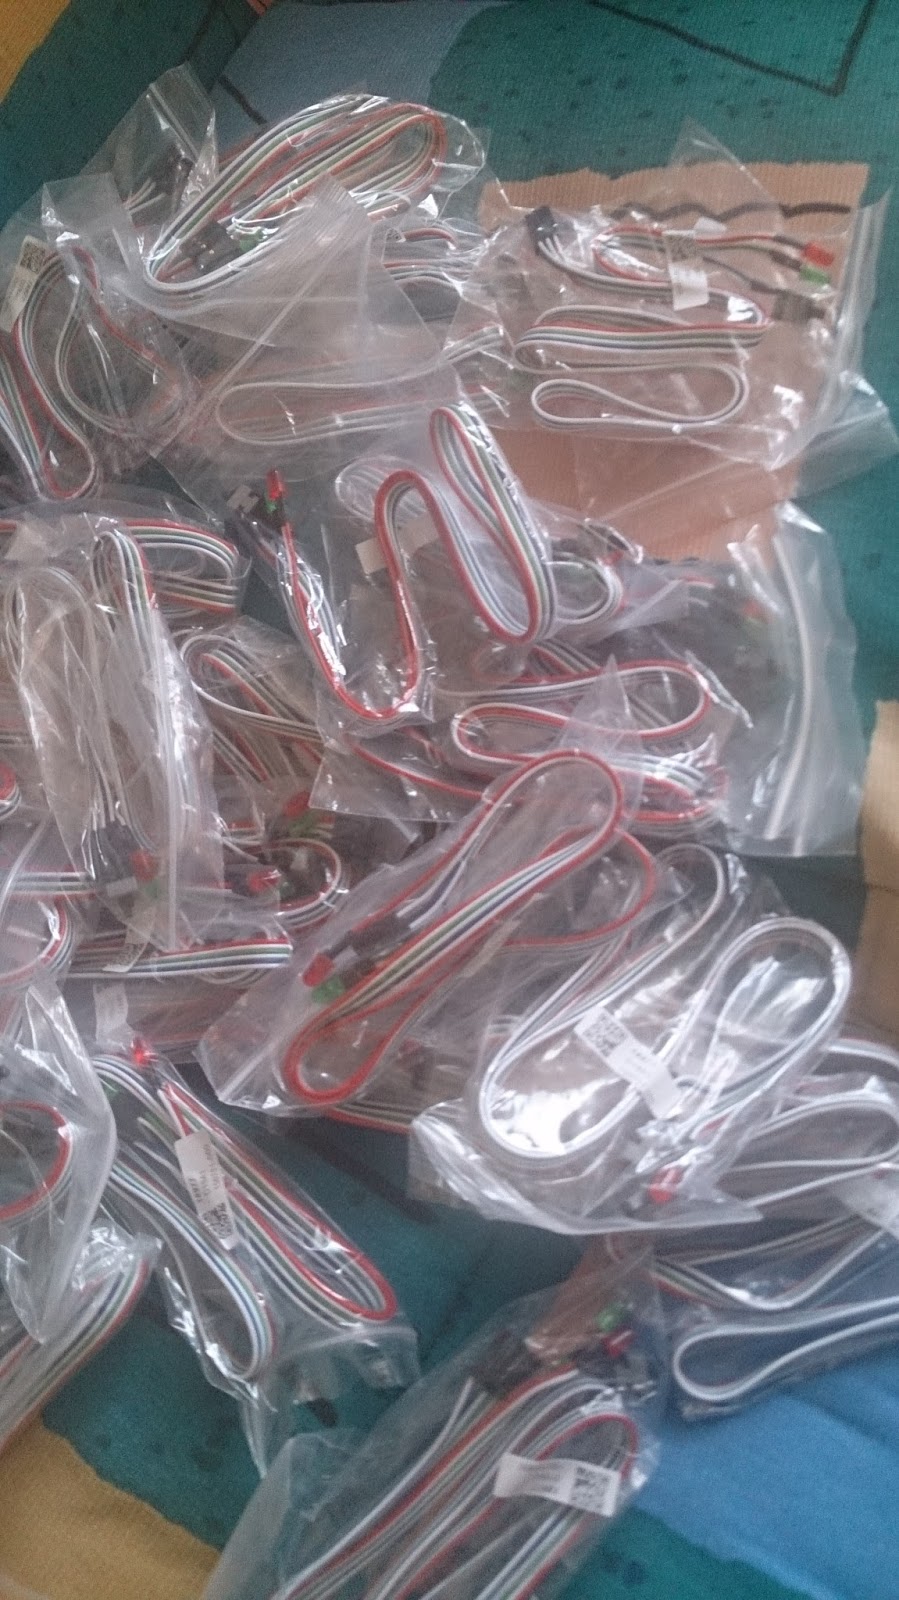 |


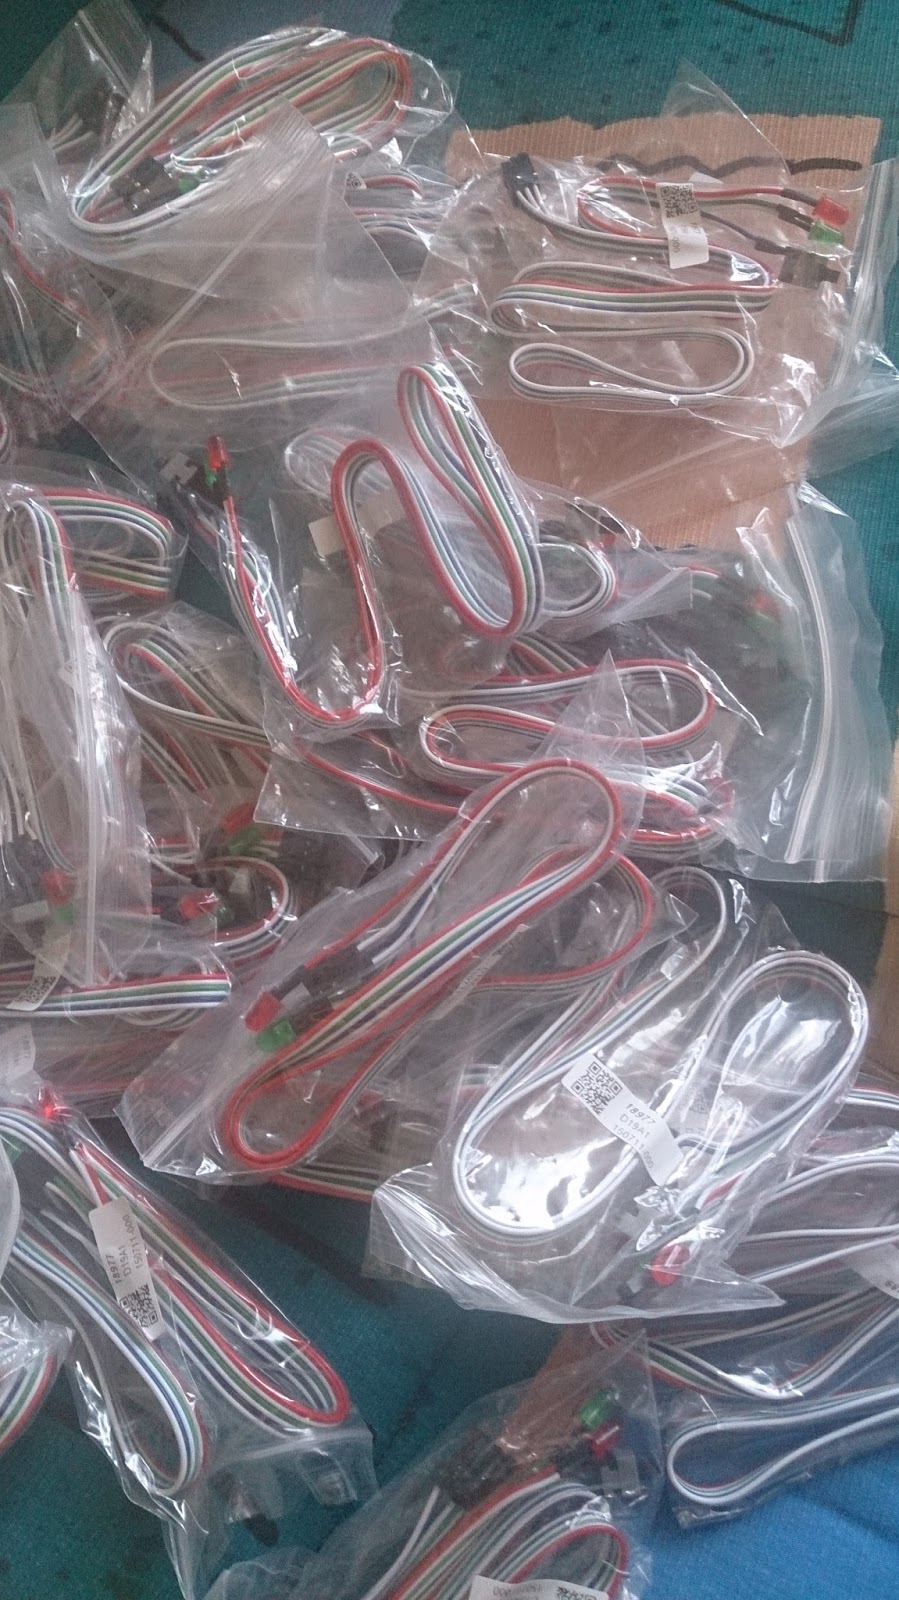
A mess of ATX power cables.
The power cables are pretty much as expected. The wires are very flimsy so I hope the crimp terminals I ordered will work on them.
The push buttons are very nice indeed. Considering they were very cheap compared to the ones I could get locally, I feared the worst, but they are actually quite nice. They feel heavy and the buttons have a very nice “click’ motion. I also expected the LEDs in the buttons to be white, with transparent colored plastic giving the color to the light, but nope: the leds are coloured and actually very bright when I test them with a 12V battery. Really looking forward to how they will look on the finished build!
Since I again did not spend any money, I am skipping the costs table.
The next update will happen once the acrylic and aluminium have arrived and I have started building.